Picture Frame
Description
This section is from the book "Shop Projects Based On Community Problems", by Myron G. Burton. Also available from Amazon: Shop Projects Based on Community Problems.
Picture Frame
Materials
Oak, plain or quartered
(Chap. III., Par. 29).
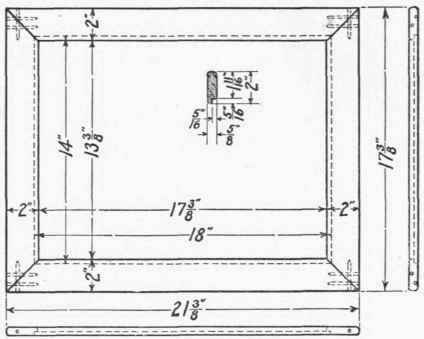
2 pcs. 5/8"x2"x22" S 2 S 2 pcs. 5/8"x2"xl8" S 2 S 12-1/4 brads. 2 screw eyes, No. 114. Wire picture cord, 28".
Introductory Statement
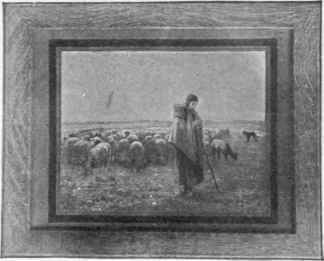
Ever since pictures have been used as a means of decoration in the home of man the problem of providing suitable and artistic frames for their protection has been a matter of much study. A great many men spend their entire time making designs for picture frames and framing materials.
It would be almost impossible to give any rules which would serve as an absolute guide in designing all kinds of picture frames, but there are a few general principles which may be kept in mind. Frames should not be gaudy nor over decorative so as to detract from the picture. They should harmonize in size and color effect with the tone of the picture contained.
In order to become expert in the art of picture framing one would need to make a very careful study of interpretation of pictures.
References:
Picture Framing in Design and Construction in Wood, Noyes. Manual Arts Press, Peoria, 111.
How to Study Pictures, Chas. H. Caffin. The Baker-Taylor Co., New York.
Picture Study in Elementary Schools, Wilson. Macmillan Co., New York.
A Child's Guide to Pictures, Chas. H. Caffin. The Baker-Taylor Co., New York.
The Book of Art for Young People, Conway. Adam & Black, publishers, London.
Famous Pictures, Barstow. The Century Co., New York.
How to Enjoy Pictures, Emery. Book Supply Co., Chicago.
Mounting and Framing of Pictures, Hasheck. Book Supply Co., Chicago.
U. S. Bulletin No. 358, Second Primer of Forestry. 5-Voc.
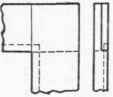
Suggestions For Original Design
Strips Used To Form Rabbet
No1
No.2
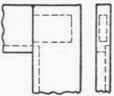
No.3
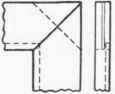
No.4
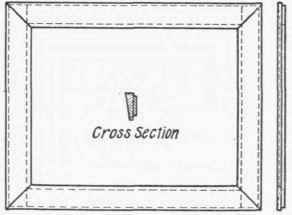
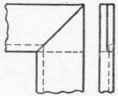
Joints Sometimes Used
Picture Frame Specifications
Preparing The Stock
Although your material is furnished S 2 S, it will be necessary for you to resurface it lightly with a very sharp plane. This will remove the marks of the machine planer with which it was originally dressed. Select the best surface and smooth it as directed for the working face (Chapter II., Paragraph 2). Carefully plane one edge for a working edge (Chapter II., Paragraph 4). With the marking gauge (Chapter II., Paragraph 6), or with the ruler and pencil (Chapter II., Paragraph 7), gauge the width on both surfaces; carefully plane to the gauge lines.
Continue to:
My Books

