How To Make A Stationery Rack
Description
This section is from the book "Carpentry For Beginners - Things To Make", by John D. Adams. Also available from Amazon: Make Magazine.
How To Make A Stationery Rack
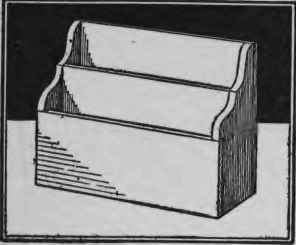
A stationery rack is something that may be made in a very short time, but if it is made as it should be, with the outline sharp and true and the seams all closely fitted, it will require a lot of care and attention.
The size will depend somewhat on the size of the stationery one uses, but any slight change in the width and height need not affect the depth from front to back or the curved outline.
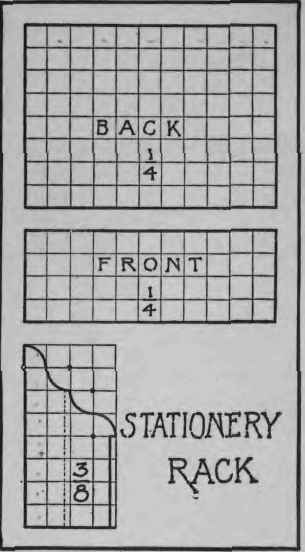
On the end pieces mark out some one-inch squares, using the steel square to see that they are true. Set the points of the compasses exactly one inch apart and then with the pointed end on each of the four center points marked by the black dots in the working drawing, draw four quarter circles, and you will immediately have the proper shape for the ends. Before sawing these out with the fret saw, cut out a strip along the front of each end board just wide enough to let the front piece set in. Place the two ends together and sandpaper the edges flat and smooth. For the curves wrap the sand paper around something round, such as a can about two inches in diameter. The front and back pieces are plain boards, sawn off perfectly square on the ends. If you have any trouble in keeping the edges from becoming rounded while sandpapering them, nail the front and back to the ends so that they will project beyond just a trifle, and then after the bottom is fitted in you may sandpaper them off exactly even with the end boards. The center board now remains to be closely fitted in place, but before nailing this in, it and the rest of the rack should be stained the desired shade and rubbed with wax, as it would be very inconvenient to get at the inside after the center piece is in place. The heads of the small brads used in the construction should be well set into the wood and puttied over.
If you happen to have some large clamps and good glue, the front piece may be put on without nails. If you try this have everything ready before putting on the glue.
Continue to:
My Books

